

Thanks to the community OpenBCI and Jeremy Frey for your python codes accessible on github
Connect Ganglion to Ubuntu 16.04 or other versions, via BLE bluetooth, then via LSL to OpenVibe and then via OSC to MAX/MSP or PureData!
CHECK:
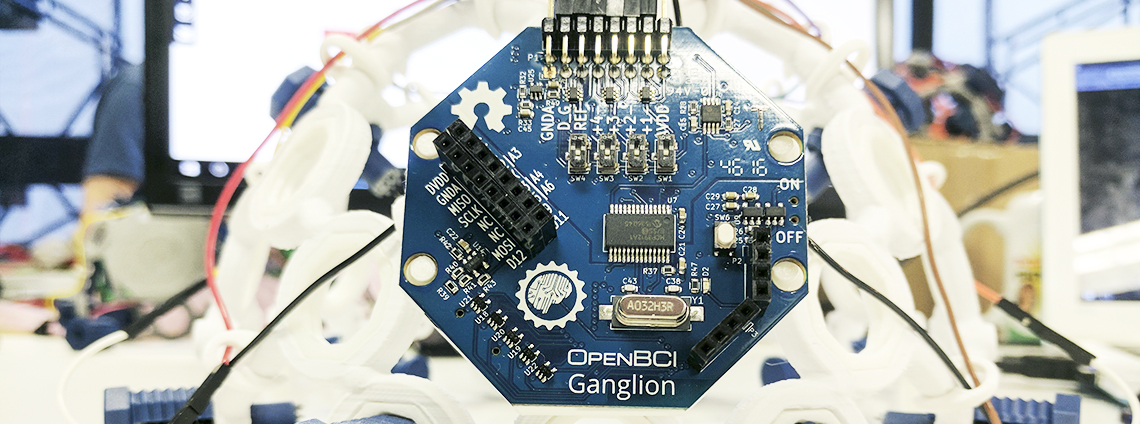
The Ganglion
a tutorial for using ganglion
OpenVibe
JFREY’s Github
MAX/MSP or
PureData – open source
Instructions for Dummies, non experts in typing terminal commands!!
For this tutorial, Ubuntu 16.4 was used!!
BEFORE STARTING:
Install dependencies necessary for this to work!!
You can copy line by line each of these terminal commands presented here in bold!!!
Copy here with Ctr-C, and paste in terminal with Ctr-Shift-V!!!
A hint for linux terminals, click on keyboard -arrowUp- to see all the previous commands you typed before and reuse them again with modifications!!!
So, type or just copy/paste in terminal:
sudo apt install git python-pip bluez-tools build-essential
(you will be asked to type in your password and to confirm the installations)
*explanation:
1. git is needed so that you can download all the files from github of OpenBCI, with git clone
2. python-pip (pip is to install python libraries as we use python code to connect with ganglion)
3. bluez-tools (utilities for bluez – permits access to BLE bluetooth)
4. build-essential (to compile stuff – probably already exists in your system)
—————————————————–
Download files from openBCI
(think about where you want to download it), once you are there then type, copy/paste in terminal:
git clone –recursive https://github.com/OpenBCI/OpenBCI_Python.git
Go to the directory you downloaded, called OpenBCI_Python! To do so type or copy/paste line by line (until –, so do not copy my explanations on the right) in terminal:
cd OpenBCI_Python/bluepy/bluepy — enter into bluepy
make — compile everything needed
cd ../.. — go back in the OpenBCI_Python folder and type:
pip install -r requirements.txt (maybe sudo required, if so then type again:
sudo pip install -r requirements.txt
——————————————————————————————–
*reduce the latencies, EACH TIME YOU TURN ON COMPUTER* remember to copy/paste this in terminal:
sudo bash -c “echo 6 > /sys/kernel/debug/bluetooth/hci0/conn_min_interval”
*one line after the other, min before max!!*
sudo bash -c “echo 6 > /sys/kernel/debug/bluetooth/hci0/conn_max_interval”
these last 2 commands are necessary because you will lose too many packets from the board OpenBCI ganglion, as the latency of linux is much higher than the one required!! so you need to manually reduce it each time you turn on your computer as linux sets it by default back again! if 6 is too low for your computer type another – higher- value.
——————————————————————————–
if your system can’t automatically detect ganglion via Bluetooth devices than you need to type a command line to find the ganglion BLUETOOTH MAC address with:
sudo hcitool lescan
it will give you an address, so select to copy (with mouse) the one indicated as ganglion, and just ***copy it by clicking Ctr-Shift-C**** on keyboard!
once you copied the address of ganglion, then press:
Ctr-C — to exit hcitool lescan!
CONNECT TO GANGLION via BLE:
TYPE THIS, don’t copy this line below, because you will loose the address you just copied earlier:
python user.py –board ganglion -p *** here you will paste the address of ganglion you copied above with Ctr-Shift-V***
***You do not need to retype each time the same command, just click on the UpArrow on your keyboard! (the MAC address is already typed once, so you don’t need to type it again, so you can copy the next commands in this text below)
python user.py –help — here you see what you need to type to connect to openBCI boards!
COMMAND TO SEND LSL TO OPENVIBE:
(-Uparrow- on the keyboard, and just add -a streamer_lsl) giving:
python user.py –board ganglion -p *ganglion address* -a streamer_lsl
*if we use multiple LSL at the same time* need to name each lsl as:
python user.py -a streamer_lsl ganglion2_eeg ganglion2_id
NB *** If you use WIFI at the same time as bluetooth, it can create a bit of interference!
——————————————————
To stream data from ganglion, type:
/start — you will see nothing happening for a while, but it is working!! then it will lose some packets, drop packet, which is normal!
if you wish to stop streaming type:
/stop –keep typing even if you dont see what you are typing as the packets keep coming at she same time!
To take off some electrodes you do not wish to measure, just type
2
3
4
take off each channel you do not use! one by one!
In this example we use only channel 1 for recording!
——————————————————————
NEW TERMINAL FOR OPENVIBE ACQUISITION SERVER:
To use openvibe acquisition server, you need another terminal, find where you installed openvibe and type:
cd openvibe-1.3.0-src, or the version you have, then go to dist
cd dist
./openvibe-acquisition-server.sh — RUN IT!!
*** an advice, these names are very long, and to help you with this, type only a few first letters, and then click on Tab key to autocomplete the name of the files!!! here eg, openvibe- acq Tab and it will fill the rest 🙂
Once you are in
acquisition server
– change the Driver into LabStreamLayer (LSL)
– go to driver properties (signal stream — EEG_id (lsl))
– go to preferences (augment drift tolerance — 100? if not using ERPs which need a smaller value)
– change sample count per sent block — 4 – if computer is strong! default is 32 — sends 32 chunks to the designer, if we put 4 chunks, it sends more frequently… it also needs to be synced with the sampling rate of BLE ganglion (200Hz), so 4 is good!!!
**if multiple ganglions on one PC, need to change connection port (use 2 openvibe acquisition servers)
——————————————————————————————
NEW TERMINAL FOR OPENVIBE DESIGNER:
To use openvibe designer, you need to use another terminal, and type:
cd openvibe-1.3.0-src , or another version you have installed.
cd dist
./openvibe-d Tab, it will auto-fill the rest giving
./openvibe-designer.sh — RUN IT
Once you are in the
designer:
open a file and you will automatically be in scenarios, which give many examples and tutorials!!
Scenario Neurofeedback, or scenarios for Motor Imagery or for P300!!
In openvibe designer, there is an OSC controller box, you should add if you want to send data to a sound editing program such as MAX/MSP, or PureData!
Double click this box and specify the Ip address you send the data to – if the receiver is another computer like a Mac or windows which has MAX.
In the receiving party, there is no need to specify the ip address of the sender!! Only the port specified in the OSC box! however if you are using the sound design on your own computer there is no need to specify any address, it is set by default.
** command linux to find IP address: ifconfig
Pingback: Sonification BCI in Marseilles – July – Jelena Mladenovic